Tutorial Jenkins
By Terracl 2 day ago.
Video Tutorial
The TC Jenkins Stack provides a one-click install solution for Jenkins. Download virtual machines or run your own jenkins server in the cloud.
Ask a room of developers which CI system they’re using and there is a good chance that several if not most will say Jenkins. Not wanting to see their favorite CI subsumed by Oracle Jenkins was spun out in 2011 as its own product. It’s widely recognized as the most feature-rich CI available with easy configuration continuous delivery and continuous integration support easily test
build and stage your app and more. It supports multiple SCM tools including CVS Subversion and Git. It can execute Apache Ant and Apache Maven-based projects as well as arbitrary scripts. Out of the box the TC Jenkins package includes Jenkins Apache Tomcat and Git.
To set up your new Jenkins installation, open your browser, type your domain or IP address followed by port 8080, http://your_ip_or_domain:8080 and screen similar to the following will be displayed:port 8080, http://your_ip_or_domain:8080 and screen similar to the following will be displayed:
Step 1 - Setting Up Jenkins
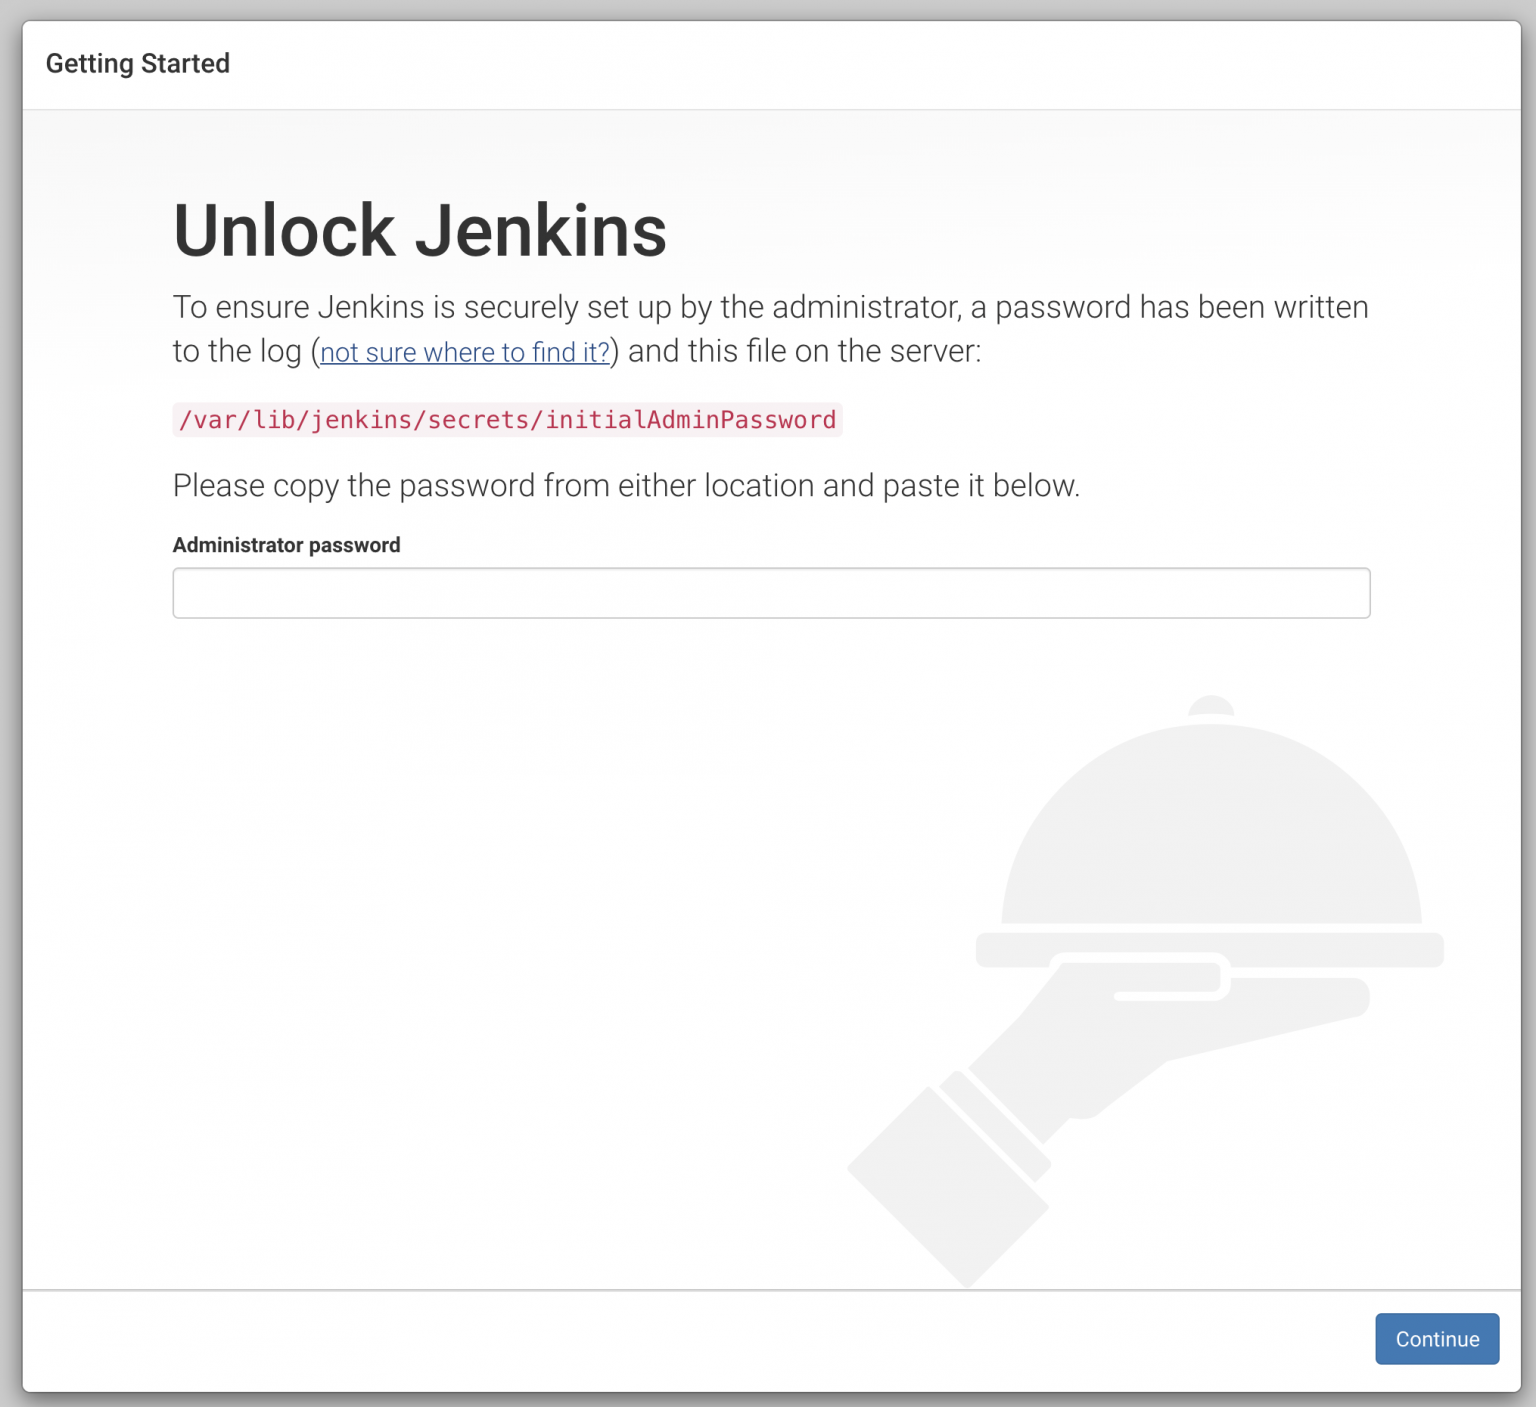
During the installation, the Jenkins installer creates an initial 32-character long alphanumeric password. Use the following command to print the password on your terminal:
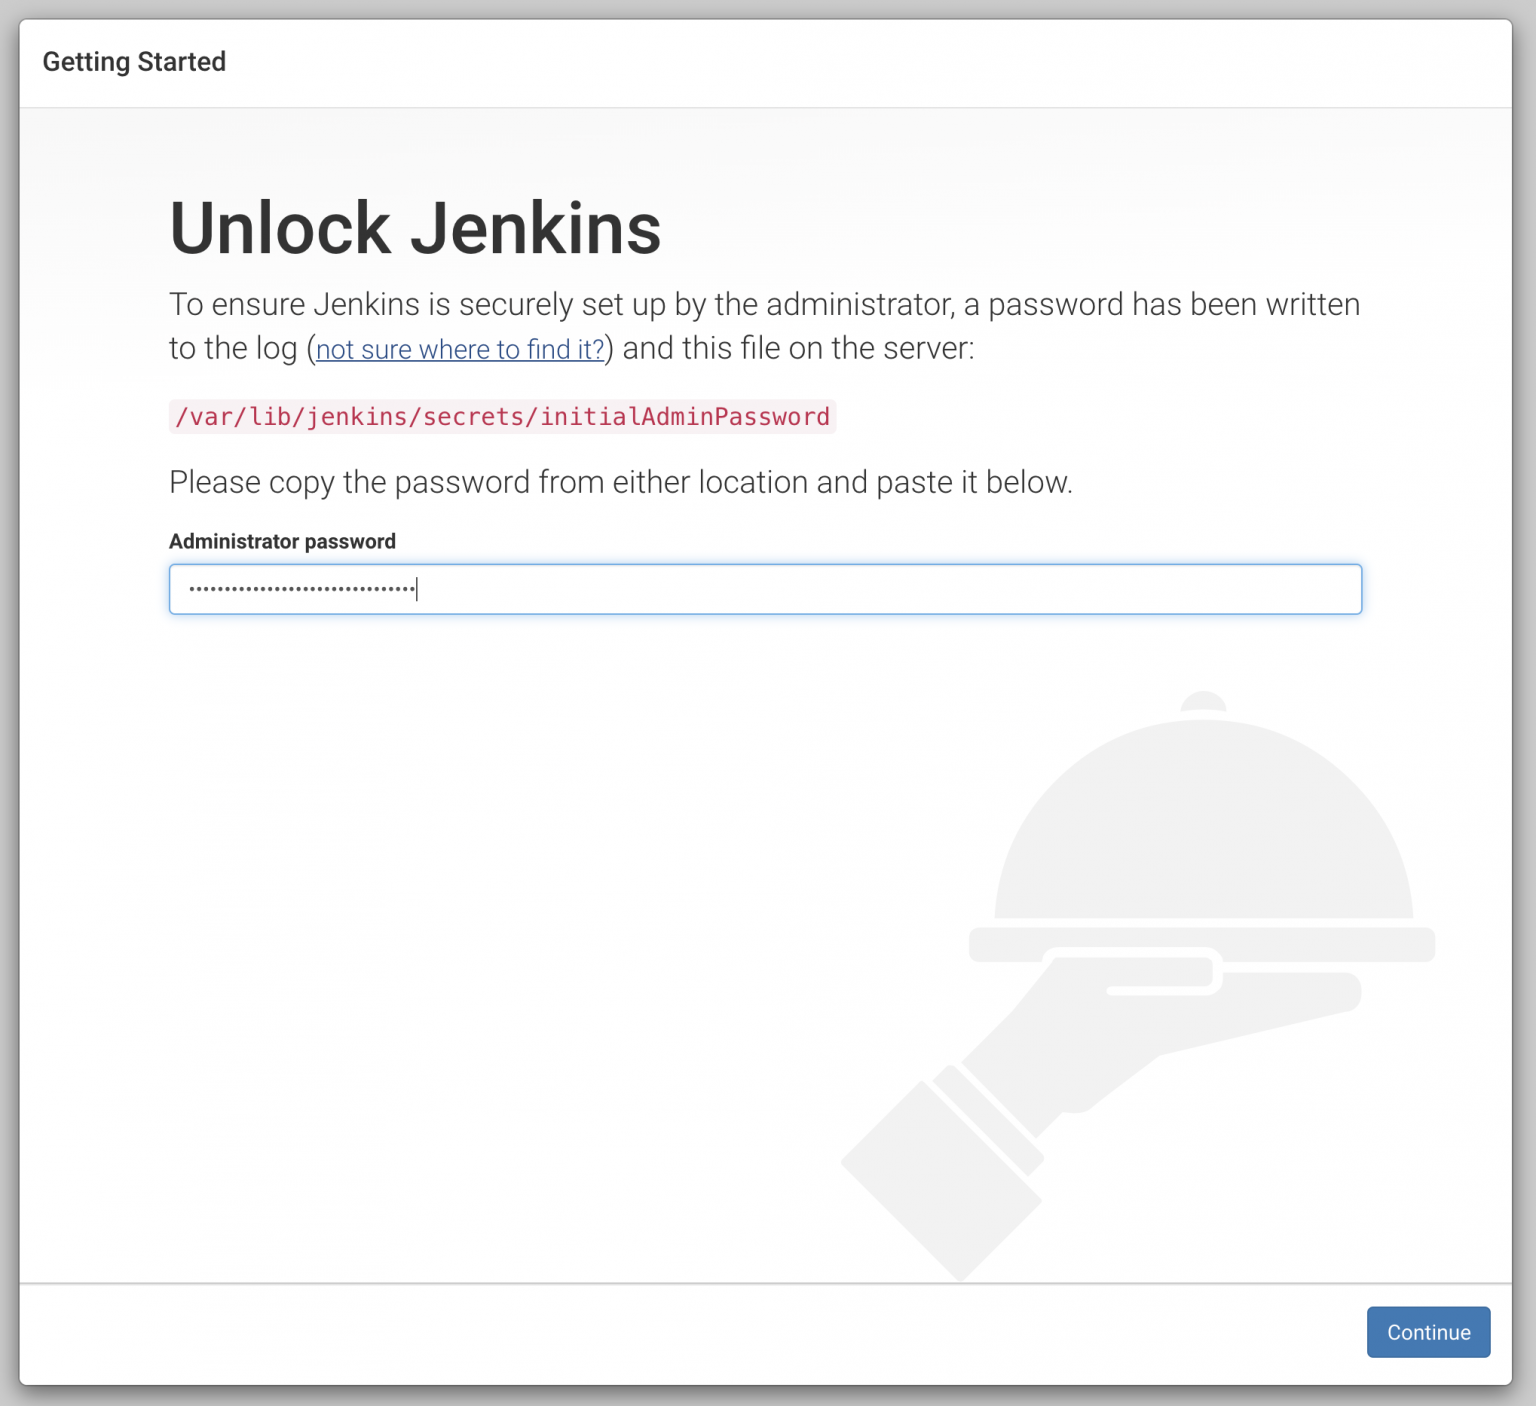
Step 2 - Setting Up Jenkins

Copy the password from your terminal, paste it into the Administrator password field and click Continue.
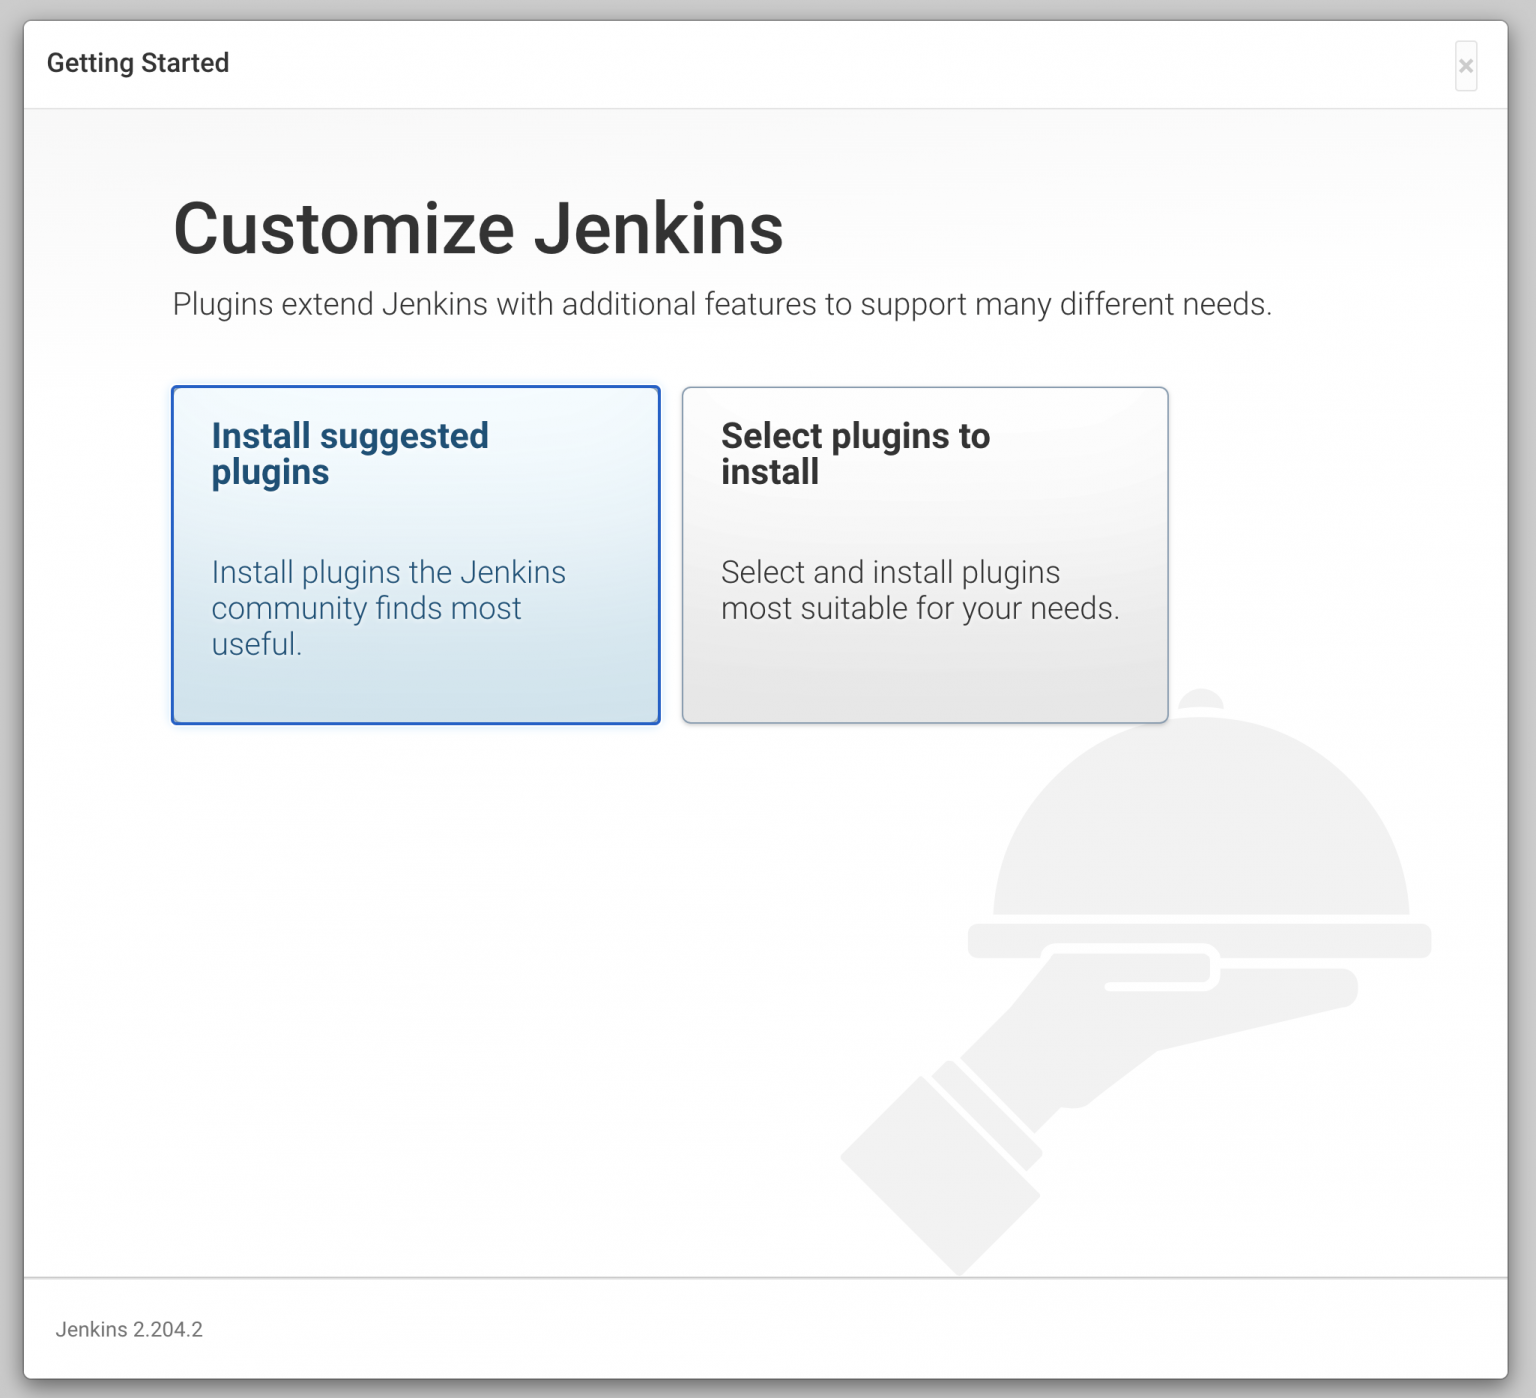
Step 3 - Setting Up Jenkins
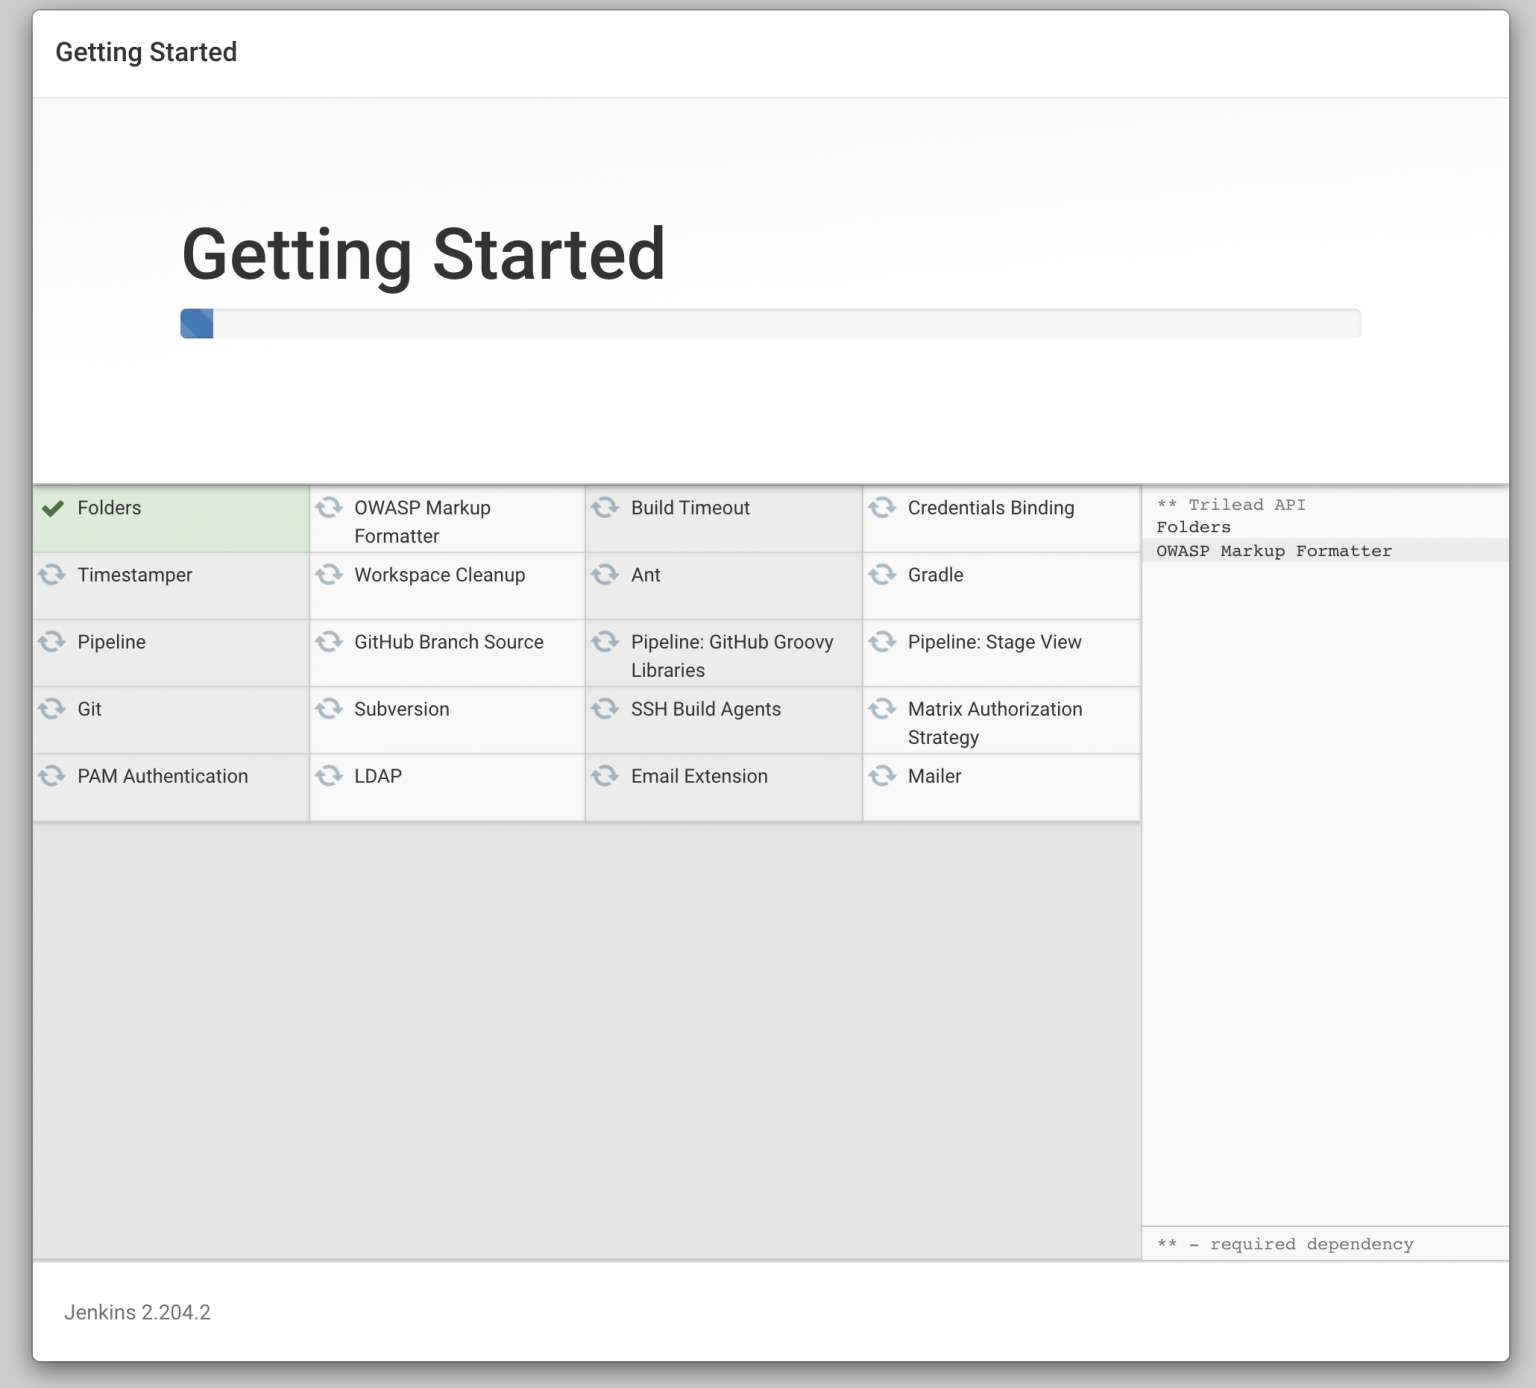
On the next screen, the setup wizard will ask you whether you want to install suggested plugins or you want to select specific plugins. Click on the Install suggested plugins box, and the installation process will start immediately.
Step 4 - Setting Up Jenkins
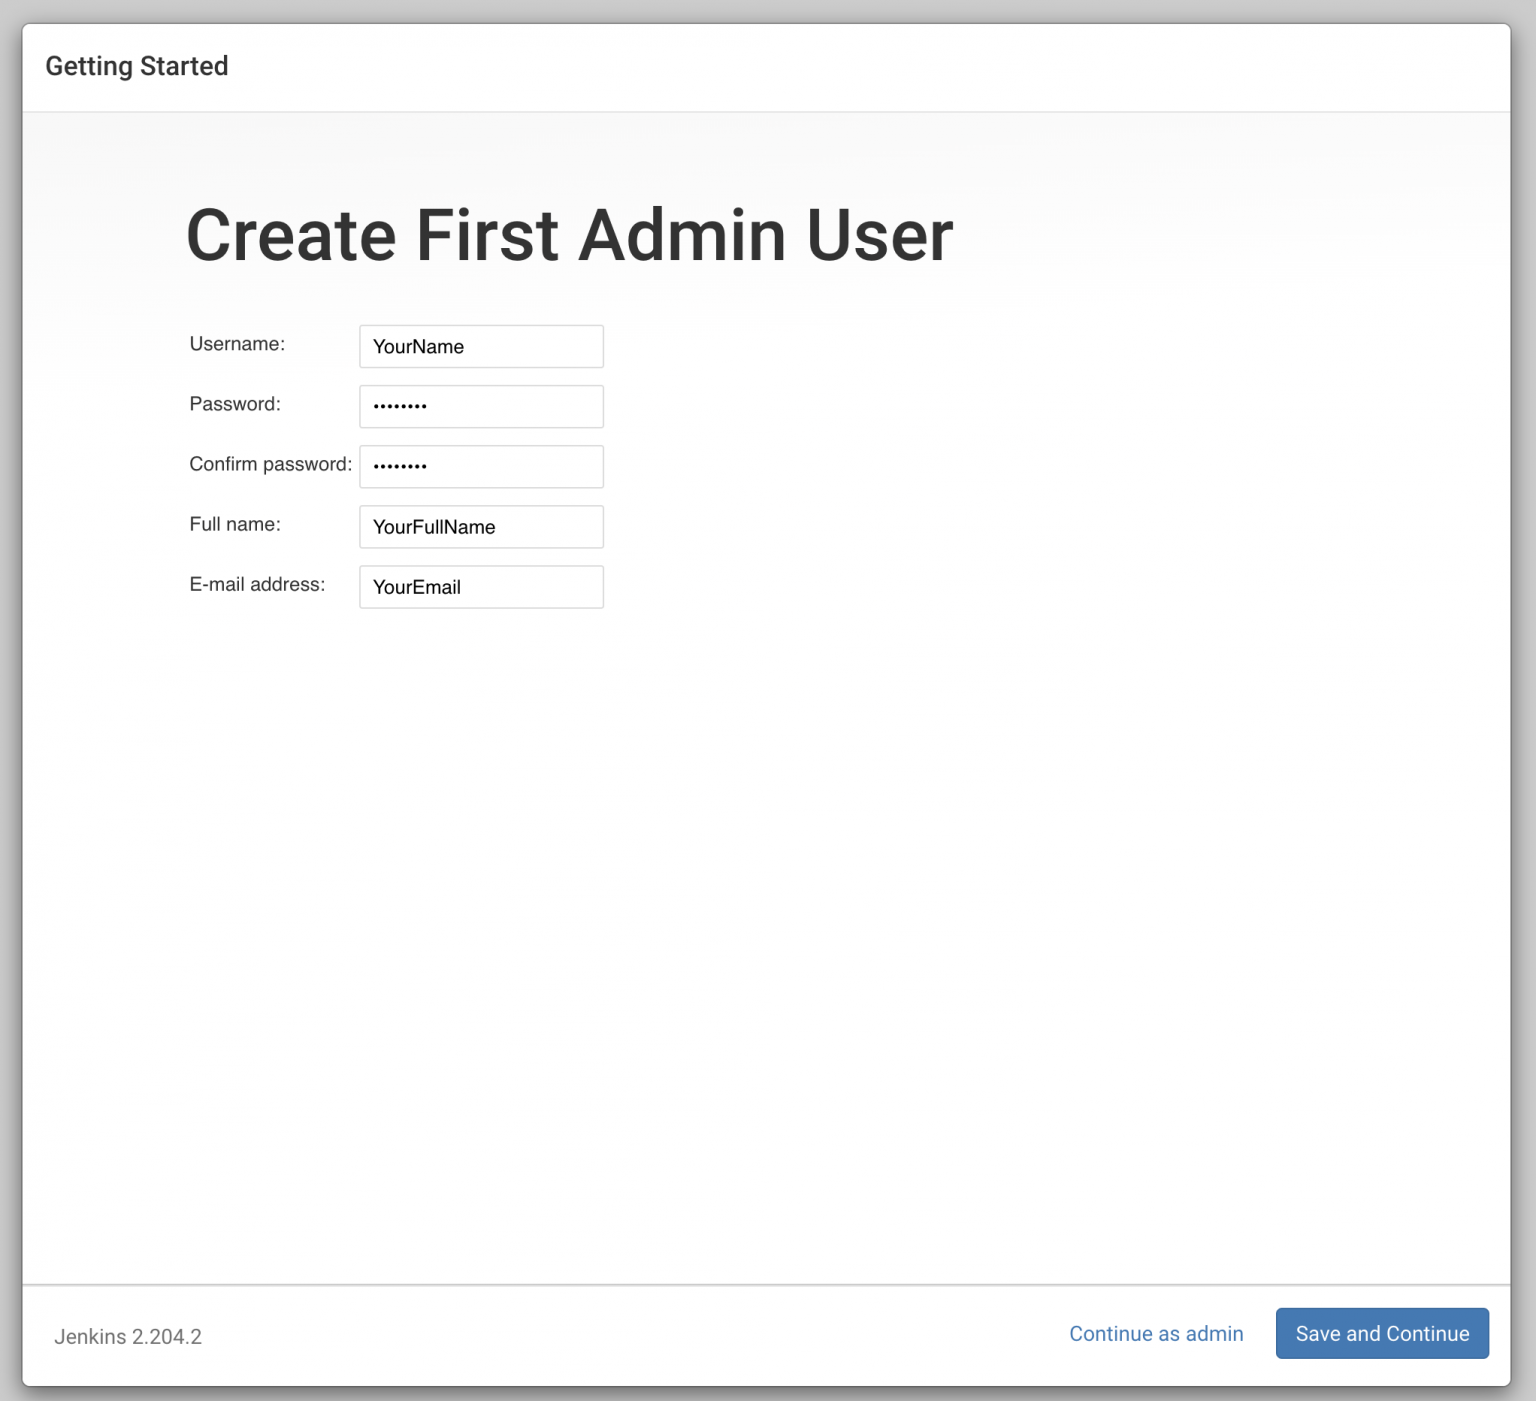
Once the plugins are installed, you will be prompted to set up the first admin user. Fill out all required information and click Save and Continue.
Step 5 - Setting Up Jenkins
Step 6 - Setting Up Jenkins
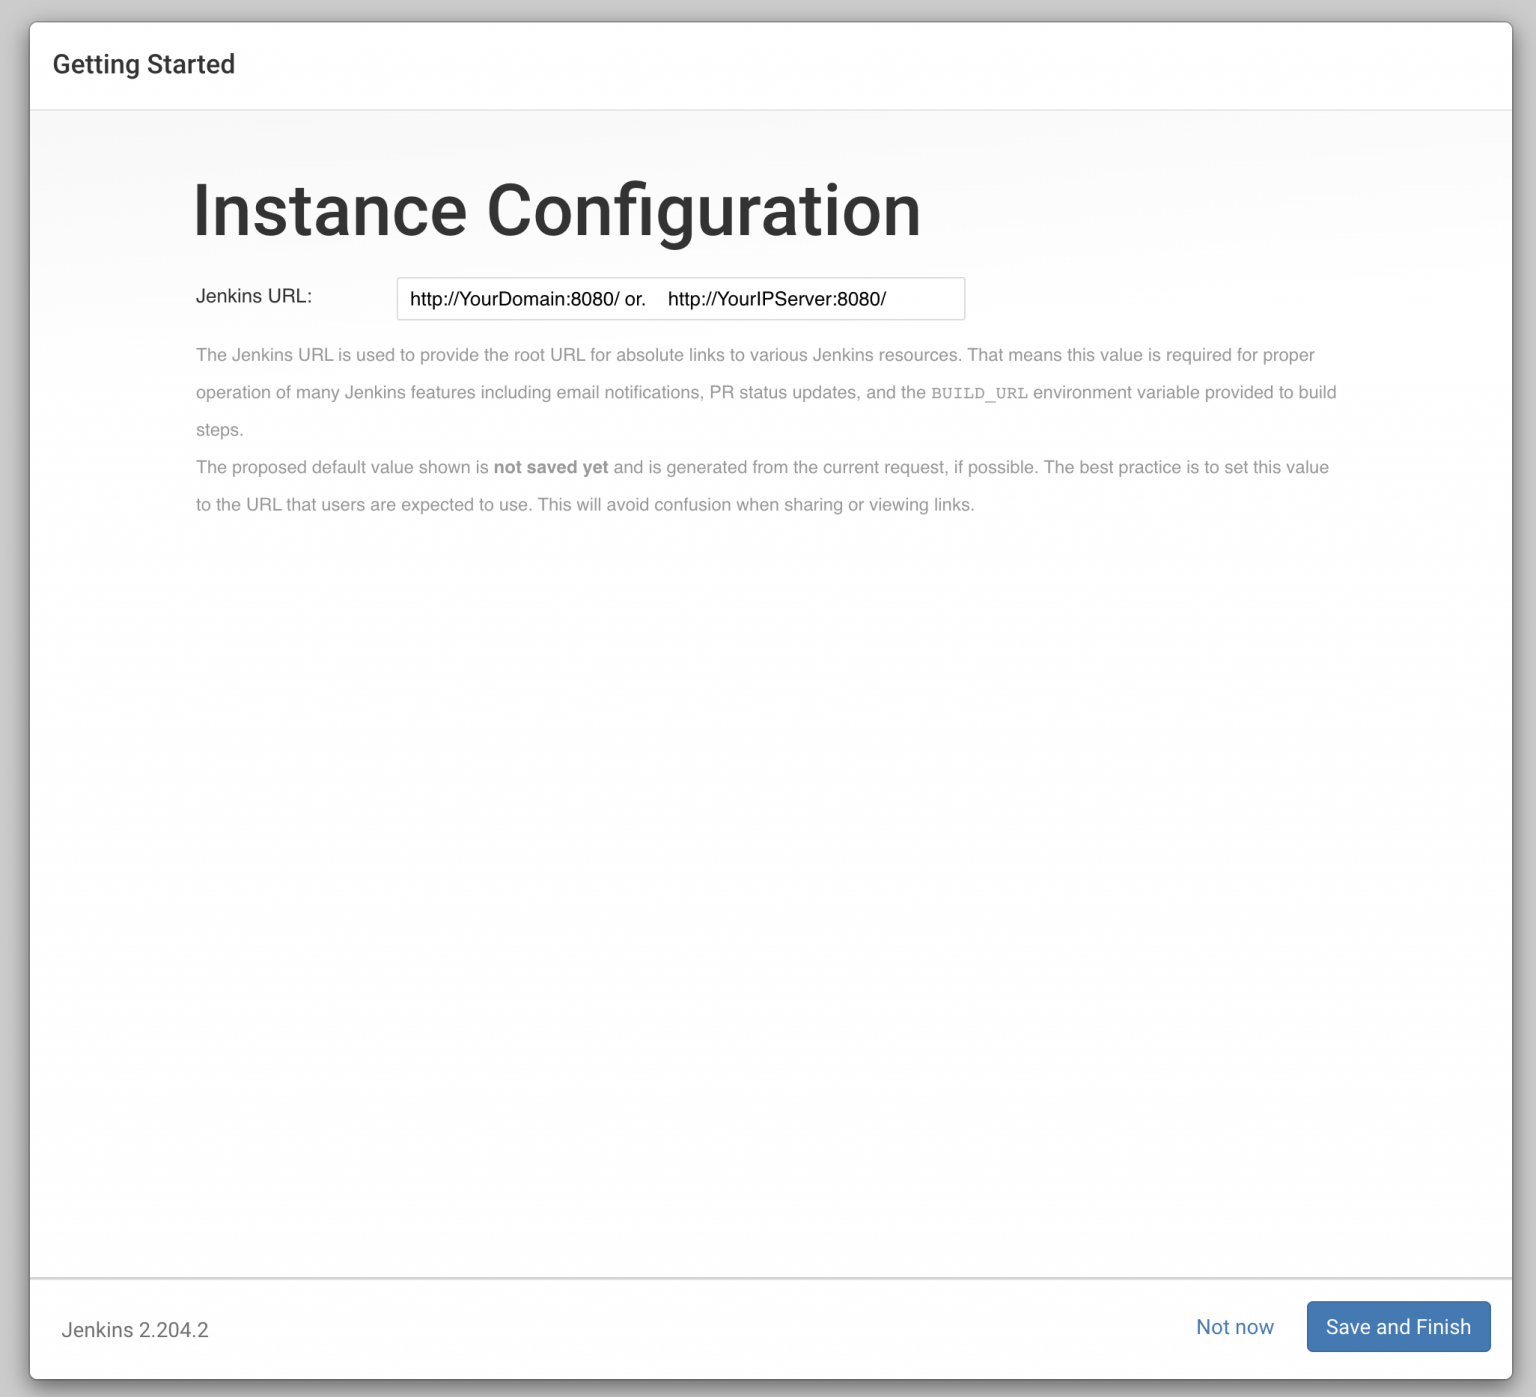
The next page will ask you to set the URL for your Jenkins instance. The field will be populated with an automatically generated URL.
Confirm the URL by clicking on the Save and Finish button and the setup process will be completed.
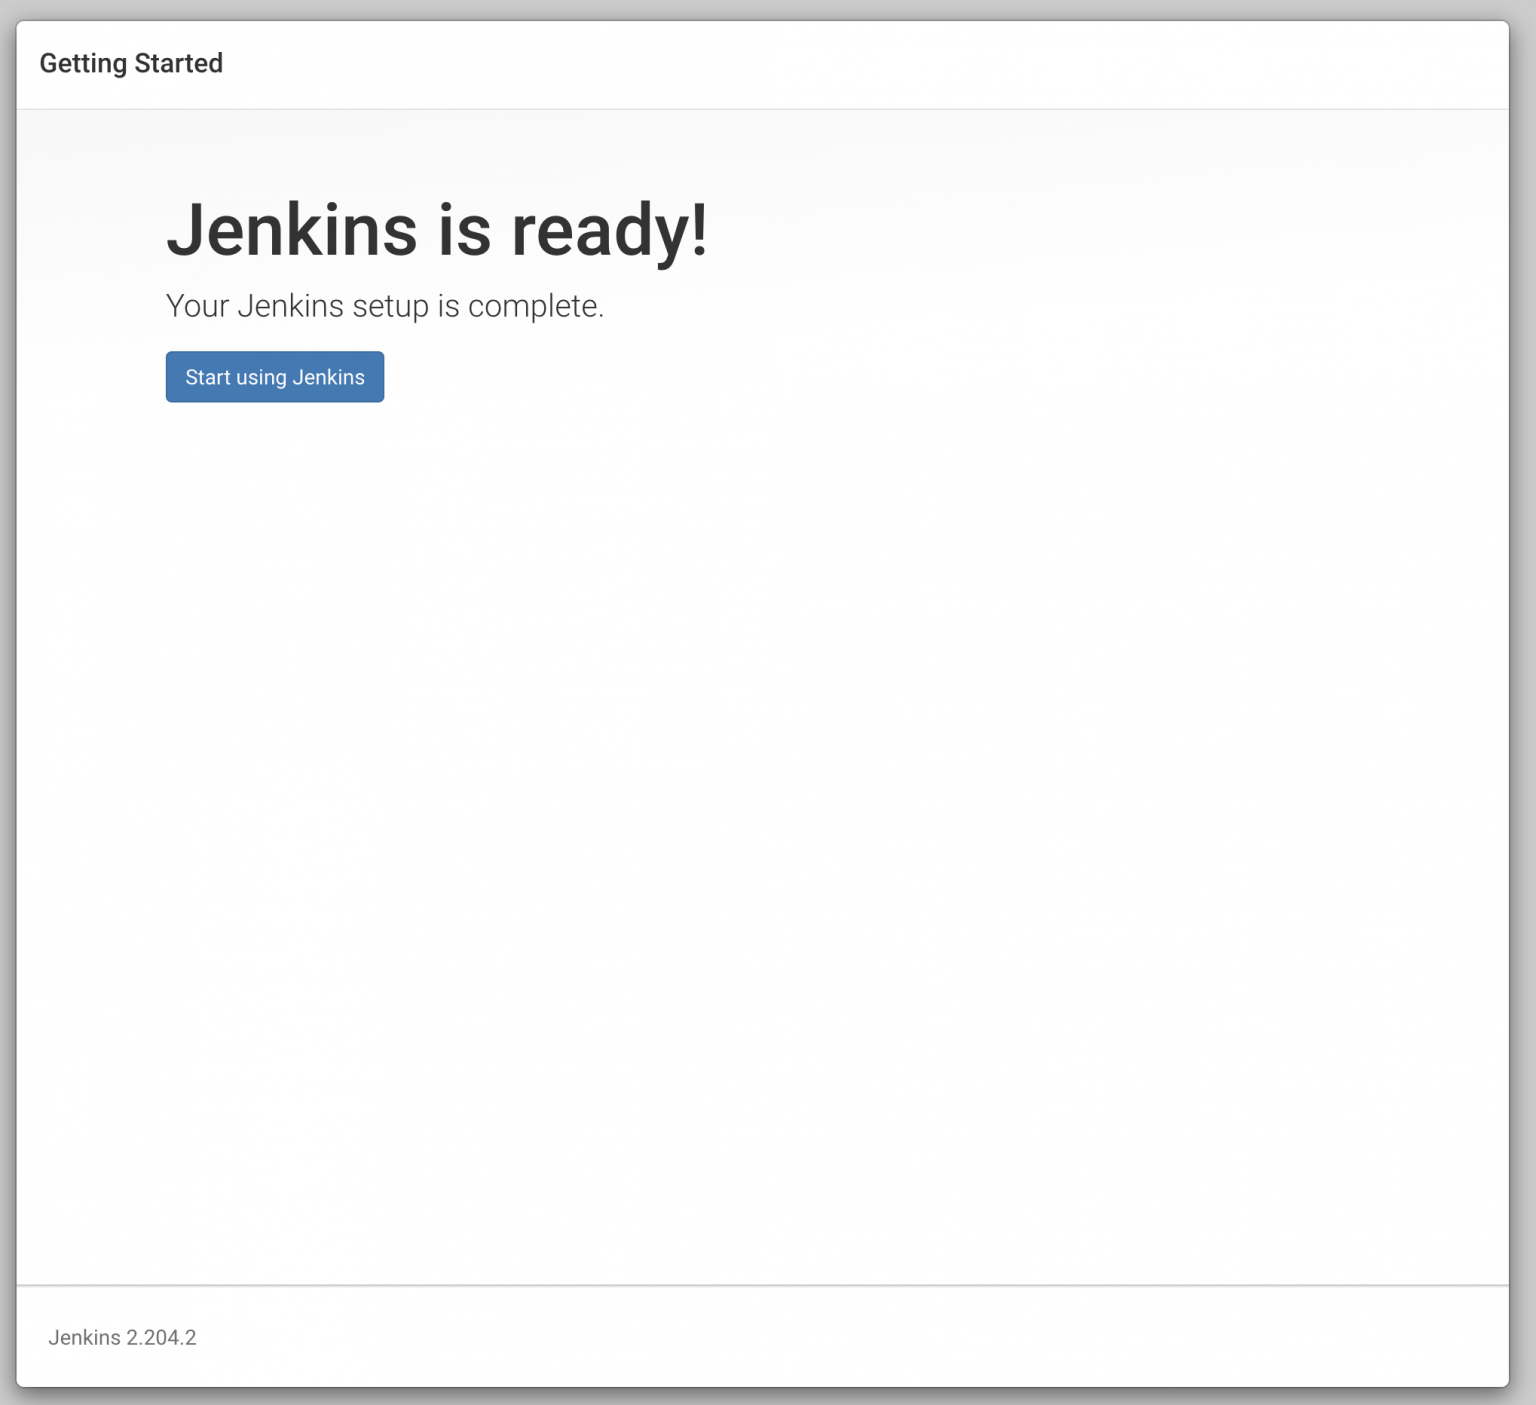
Step 7 - Setting Up Jenkins
Click on the Start using Jenkins button and you will be redirected to the Jenkins dashboard logged in as the admin user you have created in one of the previous steps.
Step 8 - Setting Up Jenkins